Inkpad is a free Illustrator on-the-go
There are many art apps in the iPad store. Lots of them are great beginnings, but they’re either gimmicky or you can’t figure out how to incorporate them into your daily work. Sorting through all the apps available can be daunting and the store itself feels like a hoarders paradise of crap. There have been a handful of iPad art apps that I’ve found essential to my work and truly make my iPad a digital sketchbook. Inkpad is definitely topping that list of handy apps.
Illustrator in your pocket
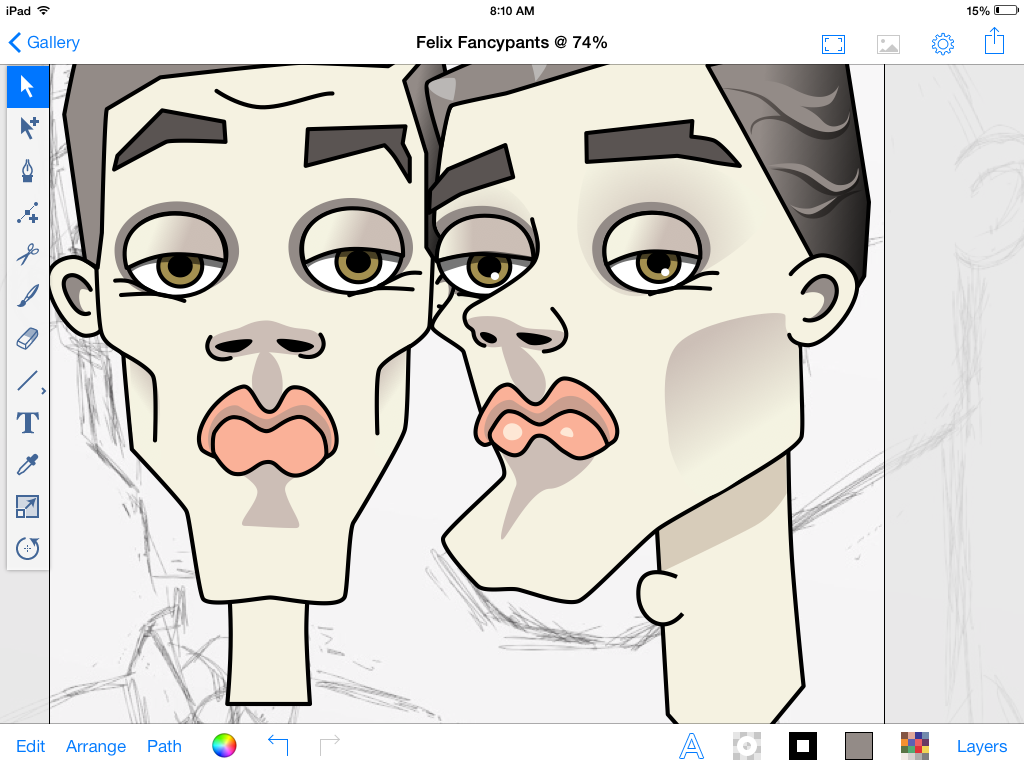
 There are a few iPad apps that have a similar interface to Illustrator which make vector art. I hesitated buying any of these vector-creating apps because I’ve always thought of my iPad more as a painting tool than a drafting tool. I really wished I would have downloaded Inkpad sooner. It has everything that you need in Illustrator to create hand-drawn type or illustrations.
When I was at a meeting for the Starbuck’s School of Animation (SSA) a couple of weeks ago, my friend and fellow SSA member, Hannah, tipped me off to Inkpad. She showed me some illustration work that she had done and how cool the interface is. After chatting with her I was convinced to give it a try.
The benefits of Inkpad.
It’s free: There’s no risk to trying Inkpad. It’s a great tool.
No manual needed: This is a perk for many artists. The app just works and the interface is really intuitive. Poking around and trying all the tools will help you figure out options and possibilities. If you’re familiar at all with Illustrator or Inkscape, you’ll feel right at home. If you’re not used to drafting in a vector program, you may hit some stumbling blocks. My suggestion would be to watch some Youtube videos of people using programs like Inkscape or Illustrator to get some vector drafting tips.
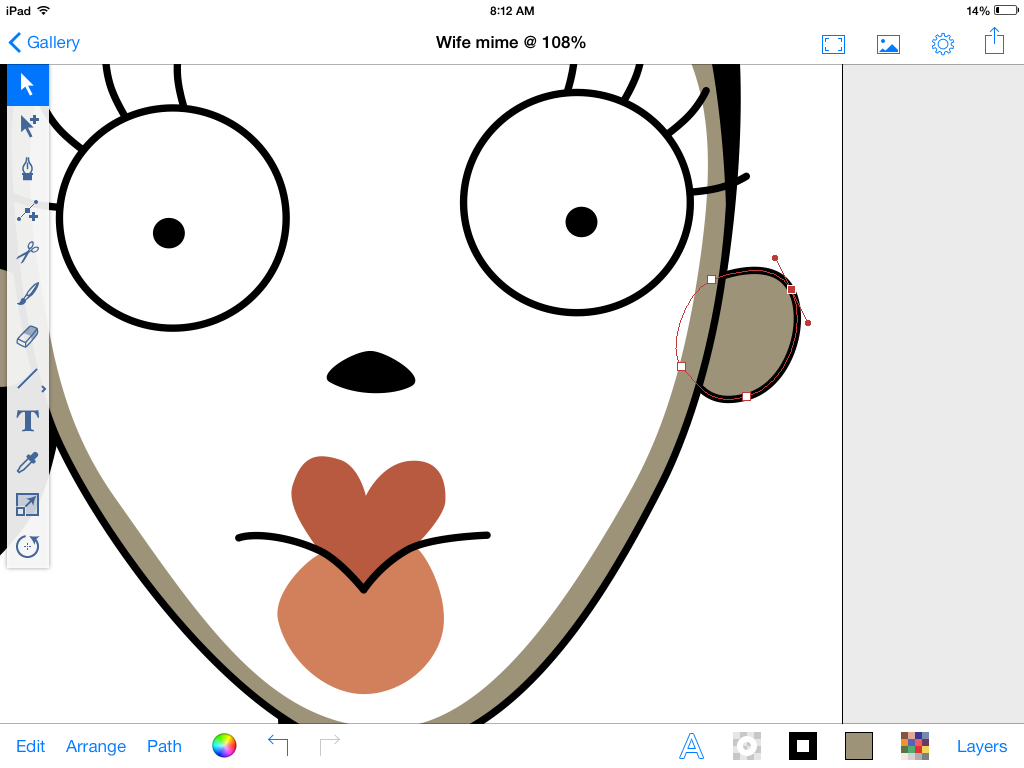
Function matches form: The tactile nature of the iPad works well with drafting with the pen tool. What heightens the experience of Inkpad is it’s superior interface design. The GUI is elegant, simple and effective. There is no digging for any options or jumble of dialog boxes to sort through. All of your available options are right on the surface.
Compatability: Create vector art and export your work as SVG for future editing in Inkscape or Illustrator. It’s nice to have this portable tool for creating vector art that you can use in your professional work. The other night I was creating silly infographic ideas to use in a marketing piece for work. I was able to draft them and piece them together on my couch while I was watching TV. It was as simple as drawing notes in a notebook. In the morning I was able to easily flip through my ideas on the iPad when I presented them to my boss.
All the essentials: Every function that you would need is pretty much in the app. You’re able to align and distribute shapes. There’s path functions like minus front and unite. You have the ability to create gradients, opacity and blend modes for individual objects. Two things that are missing or I haven’t found yet are X and Y coordinates and maintaining aspect ratio. It would be nice to enter that numbers in X and Y fields if I wanted the shape positioned in a particular spot. Also, I haven’t figured if there’s a way to maintain the aspect ratio so I can draw a perfect circle or square. So far I’ve just been eyeballing it.
Inkpad now open source!
As of October of 2013, Inkpad became open source. The creator, Steve Sprang, wrote on his Git Hub page that, “One of my motivations for releasing the source code for Inkpad was to make it a community project.” Steve didn’t have to do this. Inkpad and his other program Brushes have been successes critically for years and promoted on all of the design publications and blogs as some of the top design apps for the iPad. It’s great that he opened up the code and it will be exciting to see what develops as a result.
What about Brushes?
 I’ve also downloaded Brushes to give it a try. One thing that’s cool is that you can make custom brushes. I have to say that ArtRage is still my favorite for painting but I’m definitely willing to give Brushes a try. Why now? It’s free!


I am a bit disappointed with it. It doesn’t seem quite as convenient as Illustrator. The two main things that I’m struggling with are: 1) converting anchor points at a corner in order to make the corner a curve. 2) I haven’t figured out how to make a patterned swatch. But then again it was free
Hi there Matthew. You actually can convert your points from smooth to corner. When you have the selection tool selected, select the shape that you want to edit. If you double click on the point you can convert is for smooth to corner or vice versa. If you want a point with only one bezier handle, just double click on the handle that you don’t want. The same thing is true with deleting points. If you want to delete a point, just click the point with the add point tool. It took me a while to find it, but once I did, I just fell in love with InkPad. I don’t think that it works with patterns yet, but hopefully more options are around the corner. Let me know if you have any more questions and thanks for reading the article and trying out the software:)
Love this app to bits, been a corel draw fan for 10+ years. But now all I use is inkpad.
INKPAD is the best.
The only thing I cant seen to work out is, how to make a sharp point that has the two handles working indipendantly.
They appear during freehand under certian circumstances, but double tapping them makes them curved or straight.
Will keep searching for a solution. But thanks for a great app
Hi there Shane! Glad you like Inkpad! For creating independently moving bezier handles, double click on the handle node that you want to get rid of. It will give you only one handle that you can move instead of two moving together. If you want two moving independently, reach out to the developer, Steve Sprang. Here’s his twitter: https://twitter.com/sprang
thx for shsring ur thoughts on Inkpsd – I agree – this APP is a breakthru of common sense and simplicity! i’ve used Illustraor since it was Aldus! – and ive taken to this APP very naturally! indeed the better you can draw – the better your output. Gr8 stuff …
Ha! I started with Aldus too! That’s back when the college computer lab was filled with 10″ screen black and white Mac Classics. Oh, how times have changed. I’m excited to see what’s in store for Inkpad! Happy drawing.
( oops typos curtesy of iPad! ;x )
Hi Stephen.
Inkpad is an awesome app and I’ve been experimenting a bit with it.
One method to precisely place items or ensure they end up with a specific
aspect ratio is to turn on the grid and enable snapping to grid in the
settings.
For instance, I can create an image of 4096 by 4096 pixels and make
the grid subdivide the canvas into 8×8=64 tiles (each tile being
512×512 pixels).
That way I can easily create a perfect circle or perfect square by making
it fit into the grid and when I move it while it snaps to the grid, I
can also precisely locate objects by choosing the appropriate size for
the grid tiles and snapping it to the desired location.
This is an awesome tip, Niek! Thanks so much. Not being able to easily make a uniform circle was driving me a little crazy. This was a really inventive solution!
I cant manage to open vectors that i try to download from internet, when i tried to import them from my dropbox they r blocked what am i doin wron…
Hi there! Is there an error message? And what program are you opening the file in?
Hi, can you explain how exactly I can export an unload drawing into Illystratir? So far when I use drop box it goes in as avjpeg so all my nice vectors are useless when I place it in Illustrator. I must be missing something simple. If I wxport it as an SVG file it does’ go anywhere that I can find. It just lets me click “done’ but nothing happens. I have to get these vectors into Illustratior other work but just can’t figure out how. Thanks for any help you can provide.
Hi there, Darlene! When you select “Export as SVG” the SVG preview pops up. On the upper left of the screen it says “Done” and on the upper right there is an export icon. Select the export icon when the SVG preview pops up. I then upload it to Dropbox. Dropbox should open up and then select “Save”. That should work! Let me know if that does the trick for you:)
By default, rectangles and ovals are not constrained to a particular aspect ratio. If you want a perfect square or circle, touch the screen with a second finger after you start dragging out the shape.
This trick works with many of the tools to do different things. Check out the HELP screen from the file menu.
That’s awesome! Thanks for that insight! Much easier than using a grid:)