Understanding Z Depth in Synfig
It’s been a while since writing an entry or working in Synfig, and now I’m back doing both. I missed using Synfig over the past few months. For this first post back, I wanted to explain something that I figured out that’s obvious to me now, but for a long time has escaped me. I couldn’t figure out how to control the layer order of objects vs. folders. I’ll explain more about this in a bit.

Exciting new developments
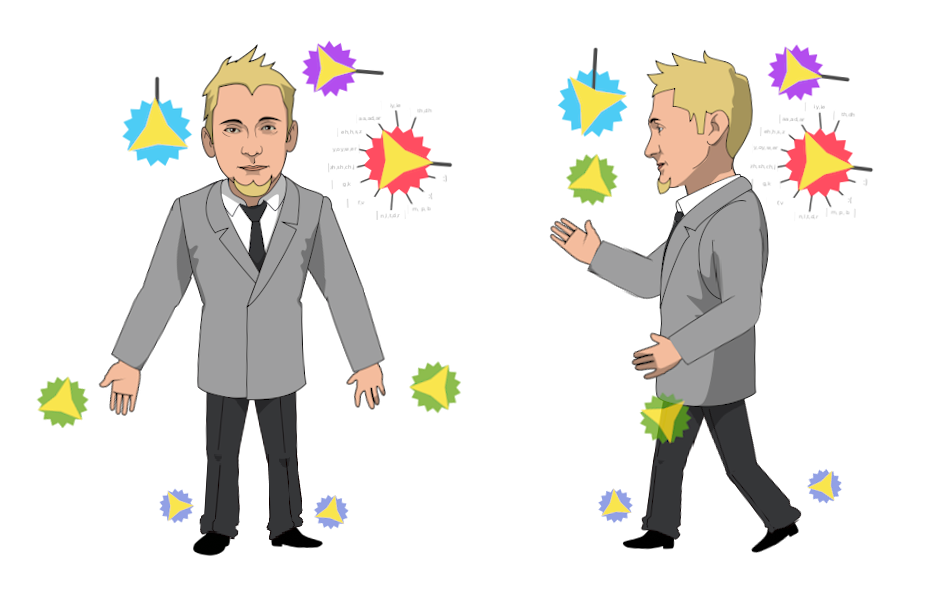
In the past few months there’s been some great new developments in the wonderful animation world of Synfig. Konstantin Dmitriev of the Morevna Project has been busy coming up with a great new way to create cut-out characters. Here’s a link explaining more on Konstantin’s blog. A couple weeks ago, he gave a Synfig workshop at the 2013 Libre Graphics Meeting in Spain. It was an opportunity to speak about his new process. You can check out his blog and youtube channel to see more about the new techniques.
If you want to try Konstantin’s new characters, you will need to also download the new version of Synfig that’s on his site.
Even more exciting news
With Konstantin’s developments also comes major strides with the a new version of the software. With the new version of .64 of Synfig on the verge of being released, we’re going to see a more polished piece of software. It sounds like the developers have been working on the rendering speed of Synfig and reworking the software so that it will work more efficiently. Even more impressive, the wonderful individuals working on Synfig have finally decided to standardize the terminology used in the software. For example, instead of encapsulating layers, you’ll now have folders to place content. These changes can already be seen in the new version on Konstantin’s site.
They’ve also been feverishly rewriting all of their wiki material to reflect all the changes. This will be a great game changer for artists trying to get into using the software. I’ll miss references to “ducks” instead of nodes/points or the cute pill icon used for the encapsulated content instead of a run-of-the-mill folder, but s users we’ll no longer have to understand an entirely new language. This will enable us to get deeper into the more complicated aspects of Synfig. Their new focus on increasing the accessibility of how to use Synfig will bring in more artists, increasing the number of quality works being produced and getting Synfig noticed by the mainstream.
“Layer Order and Hierarchy” or “Why I didn’t see this sooner?”
Let me first say that I don’t consider myself to be super sharp when it comes to spacial conundrums. While working on my character, Misty, over the past year, I came across a HUGE roadblock. I couldn’t figure out how to create a character that has hair that’s behind the neck but is controlled by the head.
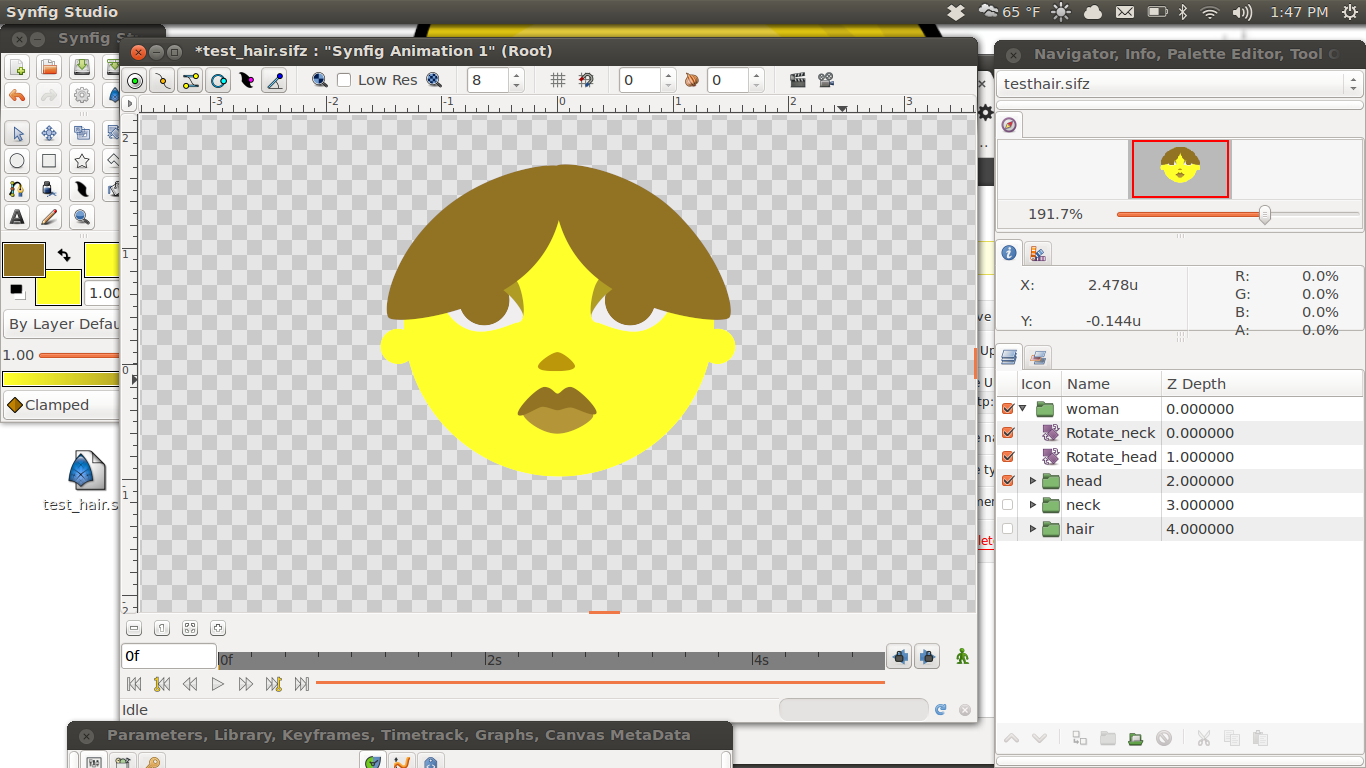
In Synfig, the Z depth of the layer is depend on the folder (encapsulation) that it resides in. If you look to the right of the layers in the layer panel there are Z depth numbers for each layer. The higher the number, the further back in space the layer resides.
You can see from the example above that the folders have depth numbered from 0 to 3. What I had a problem with was thinking that folders’ Z depths were directly related with the layer Z depth. I didn’t understand why I couldn’t change the Z depth of a layer making the number lower than the folder that it needs to go in front of.

What I learned was that the z-depth only responds to the items that are on its same level. The example above shows that the folders are on the same level and the contents in each folder are encapsulated into their own ecosystems. In the example notice that the ‘brown’ folder has a Z depth of ‘0’ and the rectangle layer in the ‘yellow’ folder has a Z depth of ‘-10′. Naturally, I would think that -10 is higher than 0 so the yellow rectangle should be above the brown rectangle. Since the Z depth only works with elements on its same level, the folders’ Z depth relate to one another and the content inside the folder is separate.
Making proper order
What I was doing wrong in the past was placing all the hair for the character in the same folder as the head. When I would create the rotation layers for basic character set up, I couldn’t get the hair behind the other folder (encapsulated) areas. If you want to know the basic for setting up a character, you can check out an earlier post I did on the subject. To get the set up right and be able to illustrate my point, I created simple character.
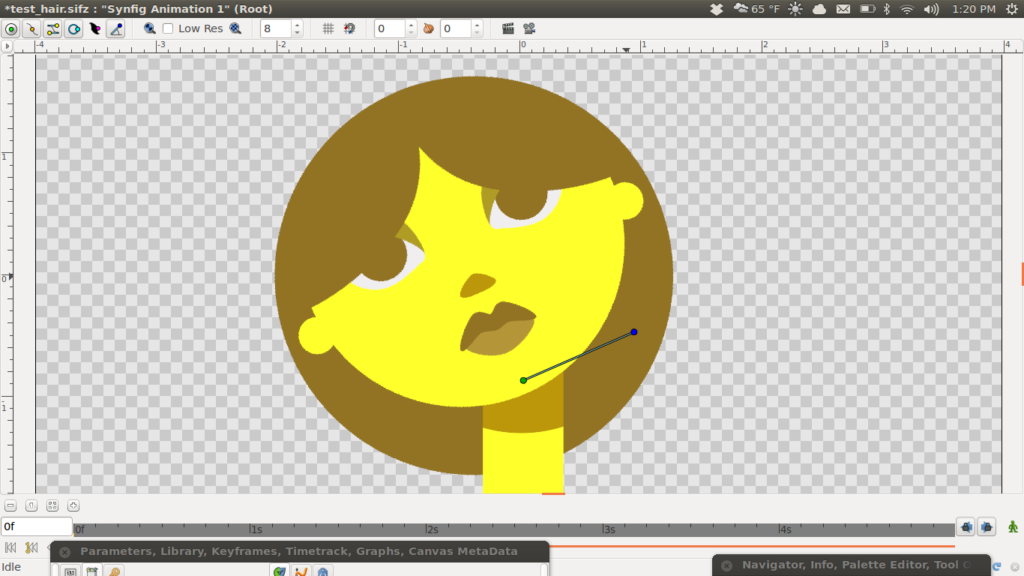
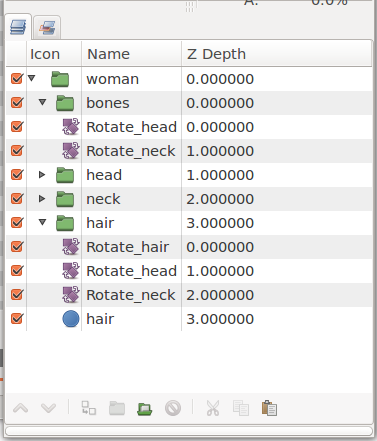
Here is the breakdown of the character. She’s broken into three main compartments.
1. Bottom folder: Hair Layer

2. Middle Folder: Neck Layer

3. Top Folder: Head Layer
So you can see that the face and the hair part are on the topmost content. The neck is in the middle and the hair is in the back.
Moving the hair and head together
This a-ha moment is like when you’re spending hours trying to clear a video game level and you can’t figure out how to complete the level and beat the boss. Sometimes it’s best to put down the game and take a break. It gives you the ability to have a bird-eye view when you come back to the same problem. That distance helps you see the bigger picture.
I had a similar experience with Synfig. If I took the hair out of the head folder and set it behind the neck in its own folder, I could easily connect the content with the rotation layer hierarchy. This results in moving the hair with the head but having it behind the neck.


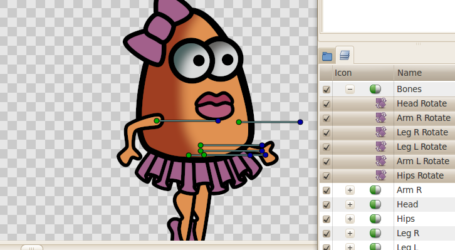
Each folder has a Rotation Layer that’s exported so that the parent/child relationship works. In the example, the neck is the main parent, then the head, and finally the hair. So the neck controls the head and hair and the head controls the hair. Again, all of the rigging is explained in an earlier post. If you noticed that there’s a folder named ‘bones’ in the images above, that’s a great way to control your character without having to go into multiple folders. I wrote about the technique and it’s based off a video from Quadro Chave. Since i’m not moving the hair independently from the head, you’ll see that I didn’t include the ‘Rotation_Hair’ Rotation Layer in the bones folder.
I hope this helps some people. I wish I would have figured it out sooner. I tried to write this explanation without running around in too many verbal circles. Please let me know if you have any questions.