Recently, I’ve been busy doing illustration work for my day job at Science News and for friends and their pet projects. All-in-all it’s been a lot of fun and I’ve tried to make it a point to push myself stylistically and with software.
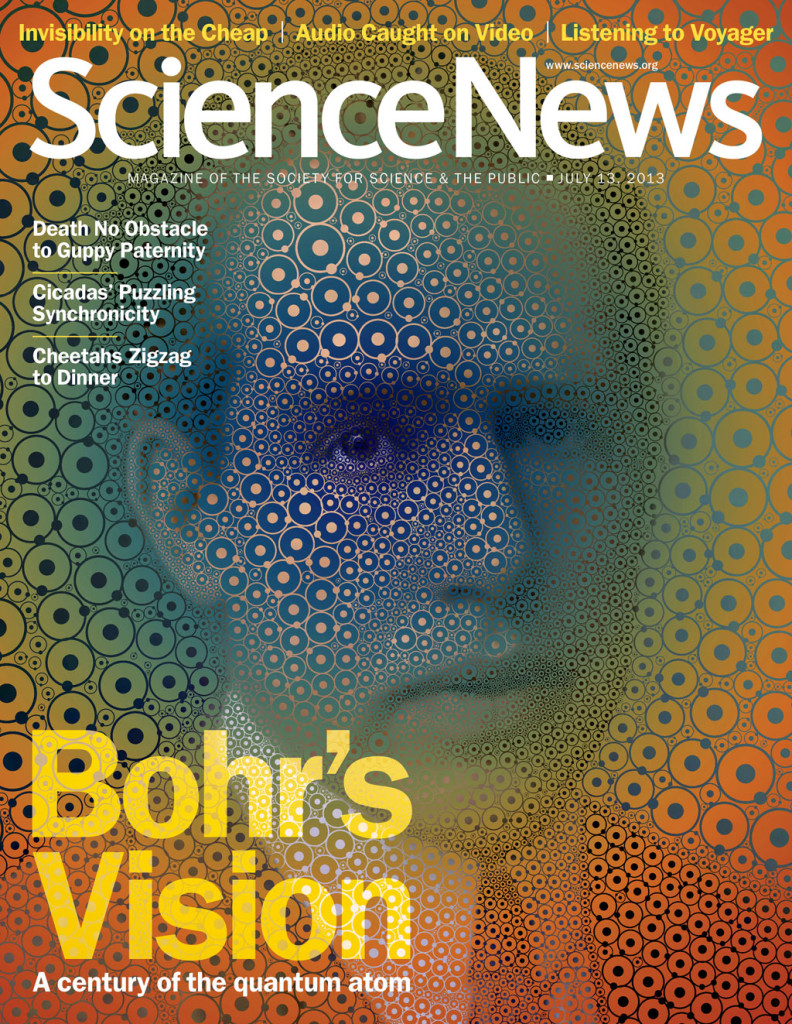
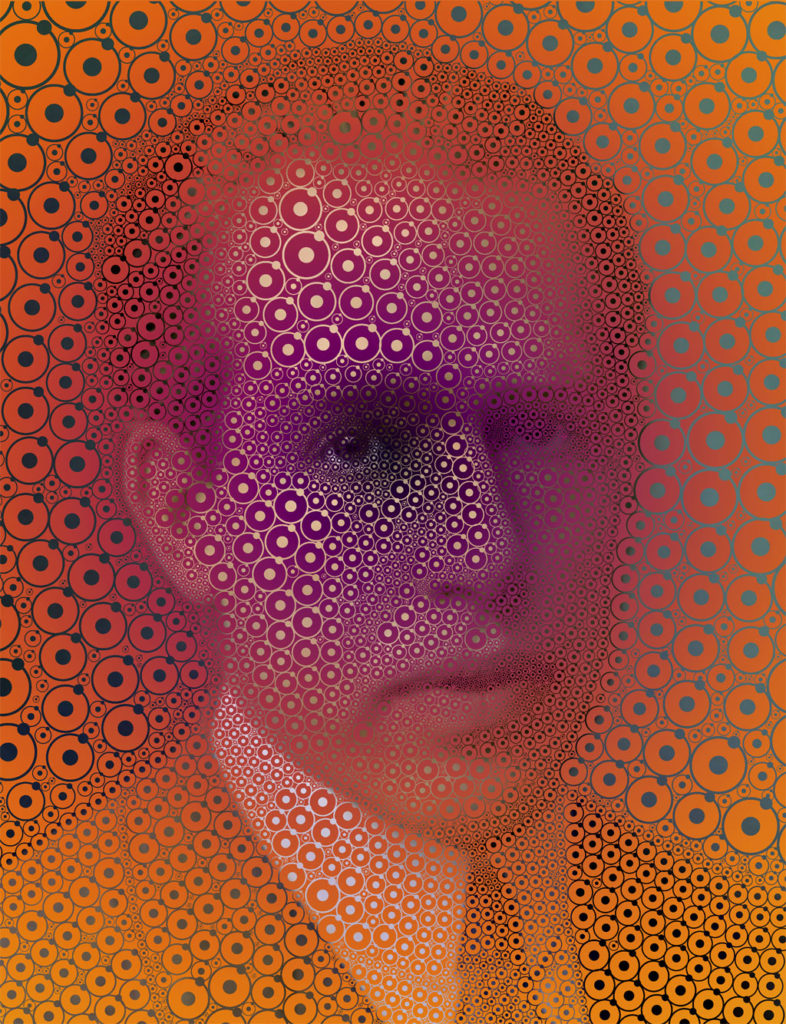
For the 100th Anniversay of Neils Bohr’s quantum atom, I was tasked with art directing the cover and feature story of our magazine, Science News. Ideally, I wanted to commission an artist for the art, but the artist that I had in mind wasn’t available. For the art, I wanted to create Bohr’s face out of the atom model for which he’s famous. Since I had a specific idea in mind, I thought it would be best if I tried my hand at creating the portrait myself.
Here’s a bare bones how-to on how I created them image. It was really a process of experimentation and I was pleased with the final results.

Step 1: Create symbol of atom (Illustrator)
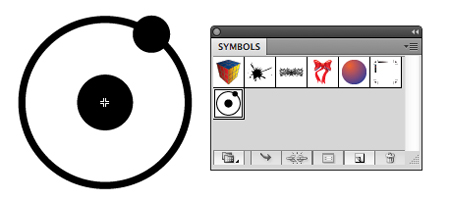
The first thing that I did was to create the atom model using Adobe Illustrator. Just in case I needed to change the model at a later date, I made the atom model an Illustrator symbol. By doing that I all instances of the atom would update when I edited the symbol. With all the circles I was about to create, having a way to globally edit them was definitely a time saver. If you’ve never made a symbol, it’s super easy. When you are done creating the object(s) that you want to convert into a symbol, select the object(s) and drag them into your symbols palette. To edit a symbol, just double click on any of the symbols on the page and it will display a message saying that you are about to edit the symbol which will change all instances. Pretty easy, right?
Step 2: Create different sizes of the atom symbol (Illustrator)

In order to create volume of the face I thought it would be good to have different sized atoms. For areas with smaller detail like the mouth and eyes, the atoms will be smaller. So I created a series of atoms in different sizes. They are all still one symbol in case I need to edit the basic shape. I put the different sized objects outside of the art board area and made copies as I need them.
Step 3: Import the image and start placing the atoms (Illustrator)

Next, I embedded the image into its own layer in Illustrator. I also ended up locking the layer so that I didn’t accidentally select or move the image while I was placing circles on top of it. You’ll see (above) that I came up with my own rational for where to place the circles and which sizes to use. Below is what the Illustrator file looks like when I hide the image layer so you can the circles by themselves. I turned off the image layer when I was finished so that it wouldn’t be visible when I imported the file in Photoshop as a smart object.
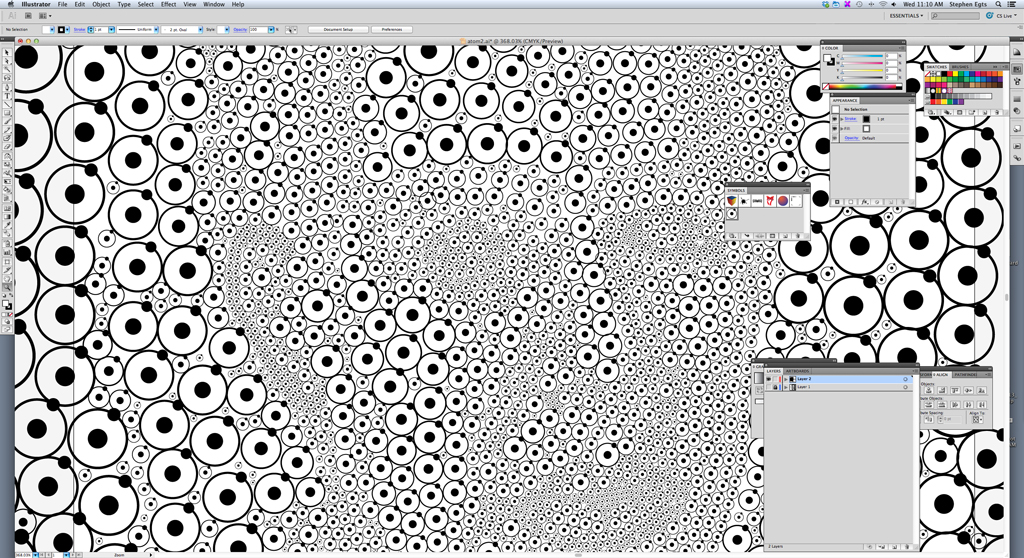
Step 4: Rotate atom models (Inkscape)
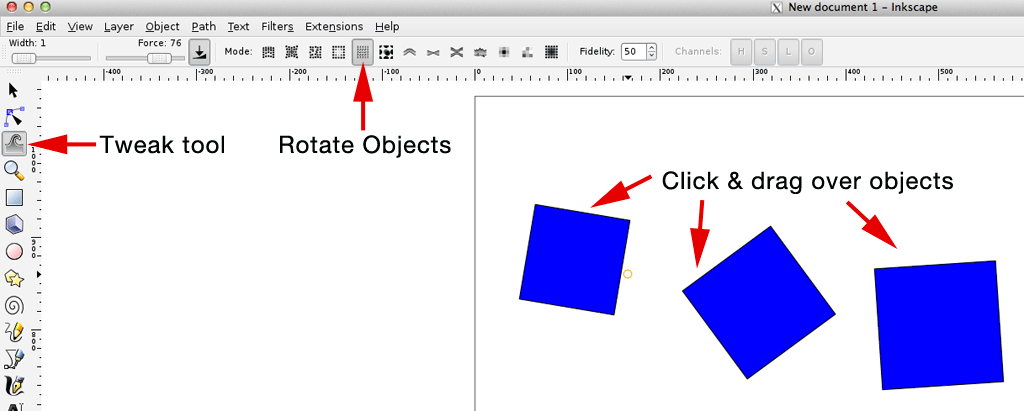
Once I was done with placing all the atoms in Illustrator, I realized something—I needed to rotate the electron on the atom model. You’ll notice that the electron is at the “one-o’clock” position on all of the atoms. I needed to vary them around the orbit. Unfortunately, Illustrator doesn’t have a place to randomize rotation but fortunately, Inkscape does. If you don’t know the program, definitely check it out. I does some really wonderful things and it’s free. So using the tweak tool in Inkscape, I was able to click and drag over the shape to rotate them and make them look more random.
Step 5: Colorize the Bohr photography (Photoshop)

For the mask of the image, I need to have the photo colorized. It didn’t have to be exact, but it needed color to work with the photo composite that I had in mind. You’ll notice that I also smoothed the pixels out so that it minimized an artifacting. To achieve this, I used multiple layers with blend modes in Photoshop to achieve a full-color look.
Step 6: Place Illustrator file into Photoshop as a smart object (Photoshop)
When the color version was ready to go, I import the Illustrator file of circles into Photoshop as a smart object. Having the Illustrator file import as a smart object layer let’s the object maintain all its vector info, making it infinitely scalable. Also, at tiny time, if I double click on the smart object layer icon, it will open up the layer in Illustrator so I can edit it. Once the Illustrator file was imported, I lined up the face with the photographic face in Photoshop. Note, when I saved the Illustrator file, I made sure the image layer was turned off so it wasn’t visible when I imported the file in Photoshop.
Step 7: Turn smart object layer into mask layer and colorize (Photoshop)
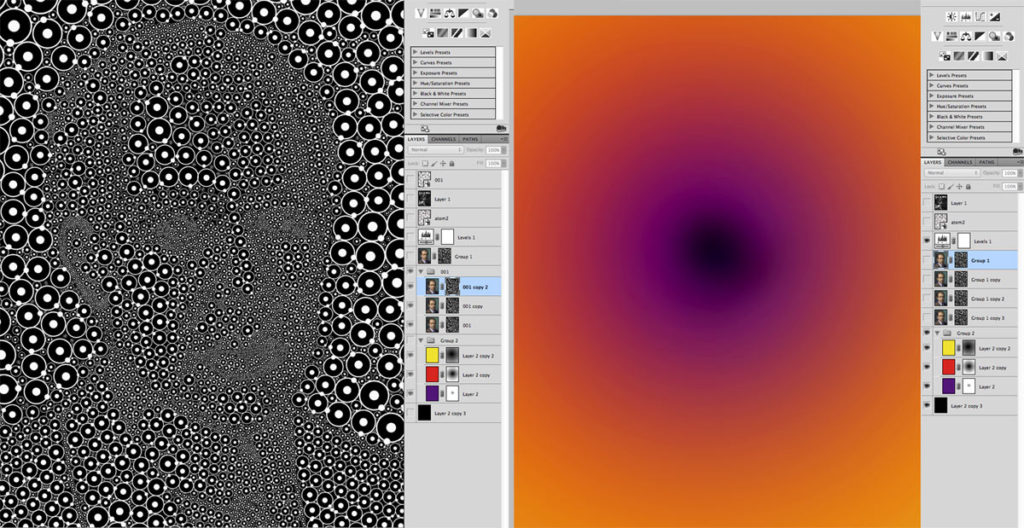
Once the smart object layer was sized properly, I made a mask of the layer and inverted it. The Illustrator file was created in black & white because I knew it would eventually be a mask layer. After the inverted mask layer was created, I placed it on the colorized photo layer (above, left). Notice in the image above on the left, you’ll see multiple layers of Bohr’s face colorized with the inverted mask. I did that to increase the density of the thinner circles. The background colors are just filled layers with masks interacting with one another.
Below is what the mask looks like on Bohr without the background behind it.

And viola!
You have finished cover art.
